A recent project at Royle Media was an ecommerce site for an international jewelry packaging manufacturer. The company has over 1,200 products in their inventory, all of which needed new product photos for the site.
Equipment:
- Canon 6D tethered to MacBook Pro
- Canon 50mm f/1.4 Lens
- Sigma 35mm f/1.4 Lens
- 3 Fluorescent Softbox Lights
- 48-inch Light Tent
- 6x Foam Board
Software:
- Adobe Photoshop CC 2014
- Adobe Lightroom 5
Backdrop:
We did test shots using white foam board. This is an inexpensive backdrop that provides good results. It works best for products that are non-reflective.


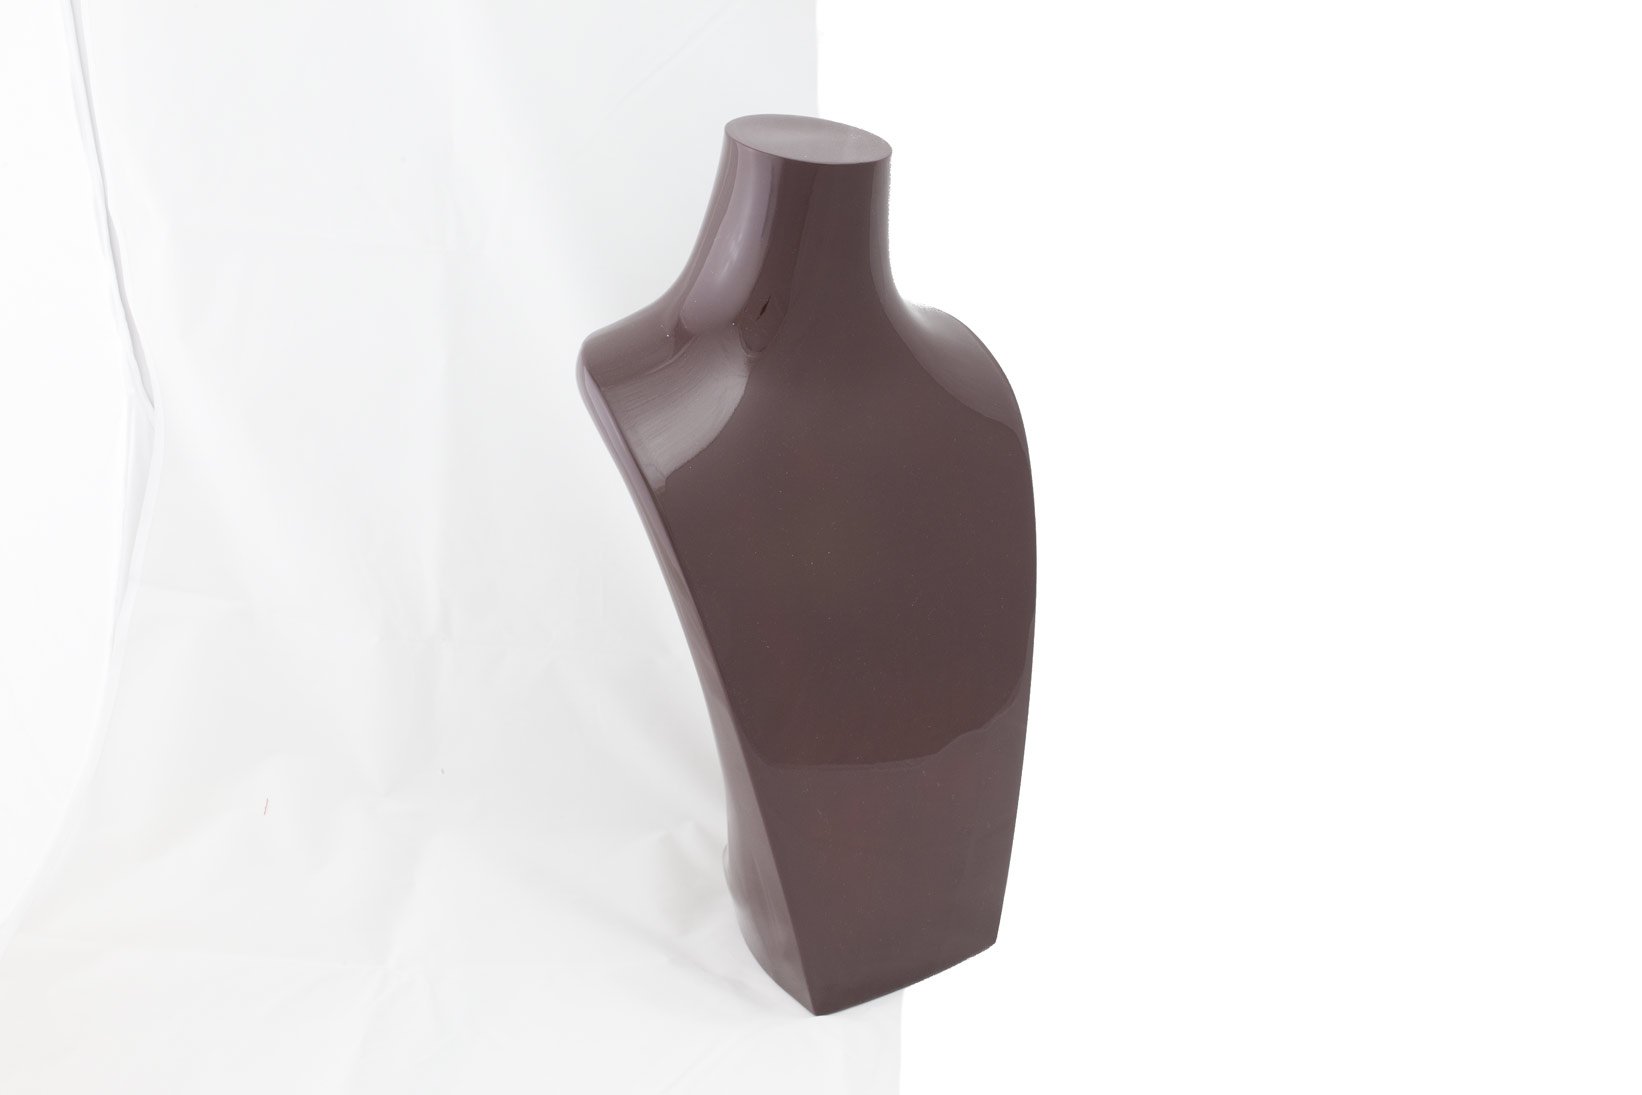
After testing the foam-board backdrop, we decided to use a lightbox instead, because many of the products were reflective. Seen in the photo below, the lightbox has a front cover to reduce reflections.


Editing:
Backgrounds can be removed from images in Photoshop or other photo-editing software. We used an editing technique where we overexpose the background of the image rather than removing it. Since our goal for the background is pure white, we can take the off-white background and overexpose it to create pure white.

As you can see, the background is not pure white and has texture from the backdrop. The next step is to open the RAW CR2 file in the Adobe Camera RAW Photo Editor.

Click on the adjustment brush tool, and turn the exposure slider to the highest setting (4.00). Make sure the “Auto Mask” box is enabled at the bottom of the adjustment brush settings. This will automatically detect the edge of the product and only overexpose the white. The auto mask setting works best on hard edges, and you may see some unwanted removal of the product edge if the color is close to white.
After exposing the background, you can then open the file in Photoshop and export an optimized version for web.
Note: this type of overexposed editing technique works ONLY with RAW files, due to the Photoshop RAW Editor’s Auto Mask function within the adjustment brush tool.
You can find more tutorials here:
The Ultimate DIY Guide to Beautiful Product Photography
Ken Rockwell: Product Photography